Privacy Overview
This website uses cookies to improve your experience while you navigate through the website. Out of these, the cookies that are categorized as necessary are stored on your browser as they are essential for the working of basic functionalities of the website. We also use third-party cookies that help us analyze and understand how you use this website. These cookies will be stored in your browser only with your consent. You also have the option to opt-out of these cookies. But opting out of some of these cookies may affect your browsing experience.
Always Active
Necessary cookies are absolutely essential for the website to function properly. These cookies ensure basic functionalities and security features of the website, anonymously.
Functional cookies help to perform certain functionalities like sharing the content of the website on social media platforms, collect feedbacks, and other third-party features.

No cookies to display.

Performance cookies are used to understand and analyze the key performance indexes of the website which helps in delivering a better user experience for the visitors.

No cookies to display.

Analytical cookies are used to understand how visitors interact with the website. These cookies help provide information on metrics the number of visitors, bounce rate, traffic source, etc.

No cookies to display.

Advertisement cookies are used to provide visitors with relevant ads and marketing campaigns. These cookies track visitors across websites and collect information to provide customized ads.

No cookies to display.

Other uncategorized cookies are those that are being analyzed and have not been classified into a category as yet.

No cookies to display.

A Basic Barbecue Rub

When I look at Facebook barbecue groups I’m amazed at the number of people that buy ready-made BBQ rubs.
Why not? I hear you ask.
Well, if that’s the way you want to do it, far be it from me to stop you but with prices often topping £40/kg for what is primarily salt and sugar it seems to me to make sense to make your own!

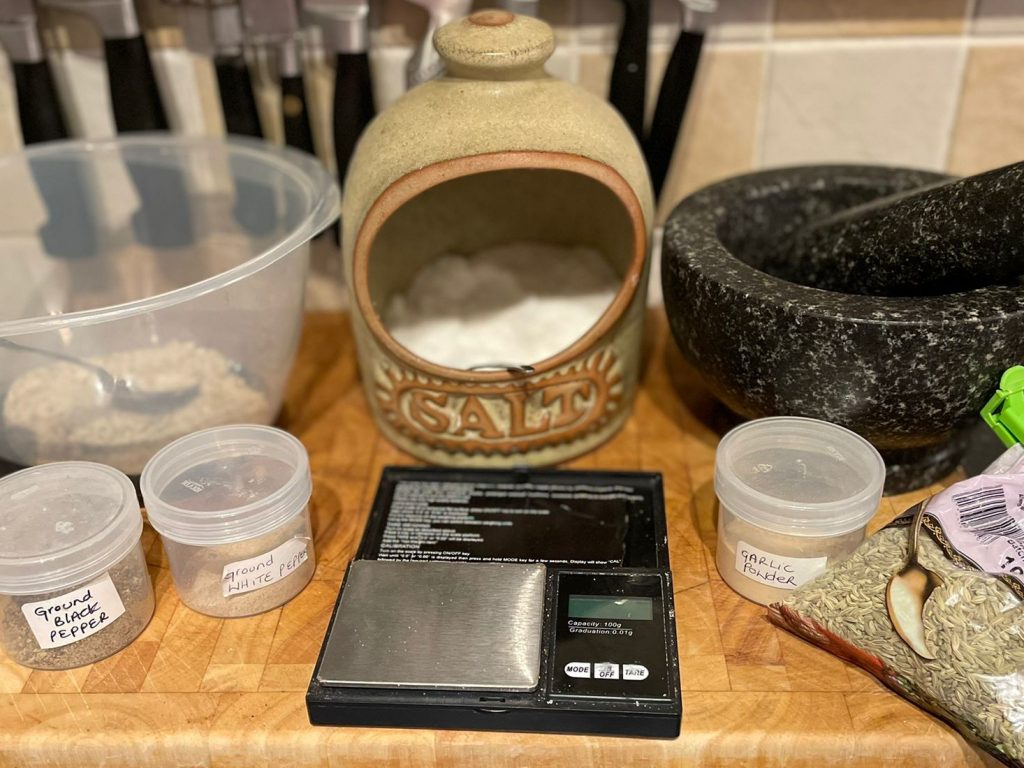
It’s not difficult to produce a clone of your favourite. A good starting point is the ingredient list and any nutritional information. Ingredients are listed with the largest first. The nutritional list will give details of the amount of salt per 100gm and an idea of the amount of sugar – these often make up over half of the ingredients. When you have an idea of these, you can then estimate the others by whether they are higher or lower in the list. Paprika is frequently the next largest item. Black pepper, celery seed or salt, onion and garlic powders and chilli in some form generally make up the bulk of the remaining ingredients. As most people who like to cook will already have these in their kitchen, it makes sense to make your own rub.

One of the beauties of making your own is that it gives the opportunity to add the salt as a separate item. You can then add as much rub as you like without risking the meat being too salty.

Here’s the basic rub that we use:

3 Tablespoons Light brown sugar
3 Tablespoons Paprika powder
2 Tablespoons Ground black pepper
1½ Tablespoons Granulated onion
1½ Tablespoons Granulated garlic
2 teaspoons Ground celery seed
1 teaspoon Mustard powder
¼ teaspoon Cayenne pepper

Spoons are level measures. You may want to increase the amount of chilli (Cayenne) – my family aren’t keen on anything more than the slightest warmth.

Potato Bread Rolls

My recipe for soft bread rolls became a bit of a cause-célèbre back in the days when the sausagemaking.org forum was more active. I’m quite proud of it. But, I never thought it was that good for burgers – it fell apart too easily. I toyed with the idea of using a pretzel roll or even a pseudo-brioche, one that’s a lot less sweet – using butter instead of oil in my soft bread roll for example. However, I’ve settled on a roll made with potatoes, and not only potatoes but instant potato flakes. The idea for these buns comes from a post on the sausage forum that referred to a recipe on the cookistry website. My recipe is a slight adaption of that one using information learned from their site.
It’s great for burgers, pulled pork and things of that nature. My original soft roll is still best for a cheese and onion roll though!

Ingredients for 18 large burger rolls

Strong white bread flour 900gm
Instant potato flakes 60gm
Luke warm water (38 – 43°C) 700gm
Instant Yeast 20gm
Salt 15gm
Egg yolks 2
Olive Oil 45gm
White Sugar 10gm
Non-Fat Dried Milk 20gm

I use ASDA’s potato flakes as they seem to have less additives than many others.

Method:
In a large bowl (The one from the mixer if you are using one) mix the flour with the salt and then add the yeast and mix again.
In another bowl, put the potato flakes, sugar and milk powder, then whisk in the water, egg and oil.
Mix the liquid with the dry ingredients and then mix/knead for 8-10 minutes.
Form the dough into a ball using as little extra flour as possible. Rub it with oil and leave it to rise in a bowl covered with a damp cloth or cling-film. It’ll want about 1 – 1½ hours until it’s doubled in size.
Divide it into 18 rolls – they’ll be about 100gm each.
Shape the rolls by turning the dough under itself as if tightening the top until it’s a smooth-topped ball, then flatten the ball – really flatten it well and push the ball of your thumb into the middle of it to create a dip (This helps keep a flattish top to the bun). The rolls should be about 4 inches in diameter at this stage.
Put nine rolls on a standard baking sheet (approx 12″ x 13″ (300 x 325mm)). Either flour the tray or use baking paper – you can also use semolina for a different finish. Add any toppings of choice using eggwash to stick them on.
Cover again and leave to prove until doubled in size – they’ll take careful handling now as they’ll probably be hanging off the edge of the tray. Cook at 175C (fan oven) until cooked – 20 mins or so.
Use your senses to tell whether they’re cooked but if in doubt check that the internal temperature is above 95C.

The Salami Making Process

An attempt to demystify the salami making process.

To overseas readers, I apologise that the links to suppliers are all UK based, however, the information is relevant regardless of that.

The basic process
  1. Making the sausagemeat
  2. Adding a salami culture
  3. Stuffing the sausagemeat into casings
  4. Fermenting them in a warm environment for a controlled time period
  5. Hanging them at a controlled temperature and relative humidity to dry
The rules

Many governments have rules about the production of commercial salami products even if it’s only the level of curing salts that are allowed in them. The USA and Canadian authorities also have rules governing the time drying and time allowed for fermentation – it’s to those rules I’ve looked for good practice in those areas. It makes sense for home producers to follow those rules or at least make informed decisions about choosing not to.

Continue reading The Salami Making Process

Calculating Maximum Fermenting Times

The US and Canadian governments have rules limiting the amount of time that a salami can be held above 15.6°C (60°f) for fermentation of cultures. They are very similar other than one uses Fahrenheit and the other centigrade. It’s the Canadian rules (centigrade) that I’ll use for this explanation.

The rules use a calculation based on what is termed degree hours. The salami must reach a pH of 5.3 within a set number of degree hours. This is the number of hours that the salami is above 15.6°C multiplied by the amount that the temperature exceeds 15.6°C:

Degree hours = hours x temperature in excess of 15.6° C (60° F)

This number of degree hours is limited depending on the temperature being used:

Continue reading Calculating Maximum Fermenting Times

Air Dried Pork Loin with fennel

4th October 2021 The first stage – curing:

Forgive the long title; I was going to title this ‘Fennel Lonzino’ and had actually typed that when I thought that it’s a bit of a liberty to do so when I’ve not got a clue as to whether the Italians use fennel in their lonzino.

I’d got in mind to make a more classic product with the simple flavours of pepper and garlic, which I understand to be a traditional lonzino. However, given that this is a piece of industrially produced meat and is likely to have less flavour than the meat I would usually use, I decided to go with the stronger flavour of fennel.

Continue reading Air Dried Pork Loin with fennel

Hot Smoked Cured Pork Loin

When I wrote about the Kasseler style smoked loin, I said that I’d make some more but use a dry cure rather than a brine.

I started two last month; I’ll smoke one and leave one unsmoked as my wife, Pauline, is not too keen on smoked food.

We’ll use it sliced in place of ham and it may even find its way into the odd bacon butty as it’s a loin version of US bacon! I’ll not be stopping making real British bacon any time soon though – have no fears about that!

Continue reading Hot Smoked Cured Pork Loin

Universal Cure calculator

This cure calculator can be used for measured dry cures or equilibrium brine (wet) cures. Measured dry cures are also sometimes referred to as EQ Cures.

It is designed for the experienced curer – those who will know to adjust the meat weight for any bone. Those who realise that meat takes a very long time to reach equilibrium in an eq brine.

They will also be aware of curing safely and using a sufficiently strong brine to protect the meat whilst it is curing when using a brine cure.

The input to the form is in grams rather than lb and oz. This is for purely practical purposes; for example, 2.5% of 1000gm is far easier to calculate than 2.5% of 2lbs2oz. It also uses weight for all measurements; this is because the volumes of solids are variable.

To convert US measures to grams you can use our:

US measures to grams converter

Continue reading Universal Cure calculator

Food, Curing and Sausage